How I Added Google Sign-in to FlowScript (Supabase + React Native)
I just shipped my first ever OAuth integration and I'm still a bit giddy about it. There's something satisfying about tapping "Sign in with Google" and watching it actually work - like, I built that.

This was for FlowScript, my teleprompter app, and honestly I'd been putting it off because OAuth sounded intimidating. Turns out it's more tedious than difficult. Lots of copying credentials between dashboards, but nothing too crazy once you know where everything goes.
Writing this down while it's fresh - hopefully it saves someone else from the same rabbit holes I fell into.
The Supabase Side
Before touching any code, you need to flip on the Google provider in Supabase:
Go to your Supabase Dashboard
Authentication → Providers
Find Google and enable it
Don't bother filling in the Client ID fields yet - we need to get those from Google first.
Setting Up Google Cloud (the annoying part)
Okay, this is where I got tripped up initially. You need credentials from Google Cloud Console, and you actually need two sets - one for iOS, one for web. I didn't realise this at first and spent way too long wondering why things weren't working.
Here's the process:
Create a new project in the Google Cloud Console
Set up the OAuth consent screen - pick External, add your app name, support email, that sort of thing
Now create the credentials
iOS Credentials
Application type: iOS
Name it whatever (I just called mine "MyApp iOS")
Enter your Bundle ID - the one from Xcode, like
com.yourname.yourappCopy the Client ID somewhere safe
Web Credentials (for Supabase)
This one confused me - why do we need web credentials for a mobile app? Turns out Supabase handles the OAuth flow server-side, so it needs its own credentials.
Application type: Web application
Authorized JavaScript origins:
https://your-project-ref.supabase.coAuthorized redirect URIs:
https://your-project-ref.supabase.co/auth/v1/callbackGrab both the Client ID and Client Secret
Wire It Up in Supabase
Back in your Supabase dashboard, go to Authentication → Providers → Google and paste in the Web Client ID and Secret. Save.
The React Native Part
Install the Google Sign-in package:
npm install @react-native-google-signin/google-signin
cd ios && pod install && cd ..
Then add this to your Info.plist:
<key>CFBundleURLTypes</key>
<array>
  <dict>
    <key>CFBundleURLSchemes</key>
    <array>
      <string>com.googleusercontent.apps.YOUR_IOS_CLIENT_ID</string>
    </array>
  </dict>
</array>
That YOUR_IOS_CLIENT_ID bit - it's your iOS Client ID but reversed. So if your Client ID is 123456.apps.googleusercontent.com, you'd put com.googleusercontent.apps.123456.
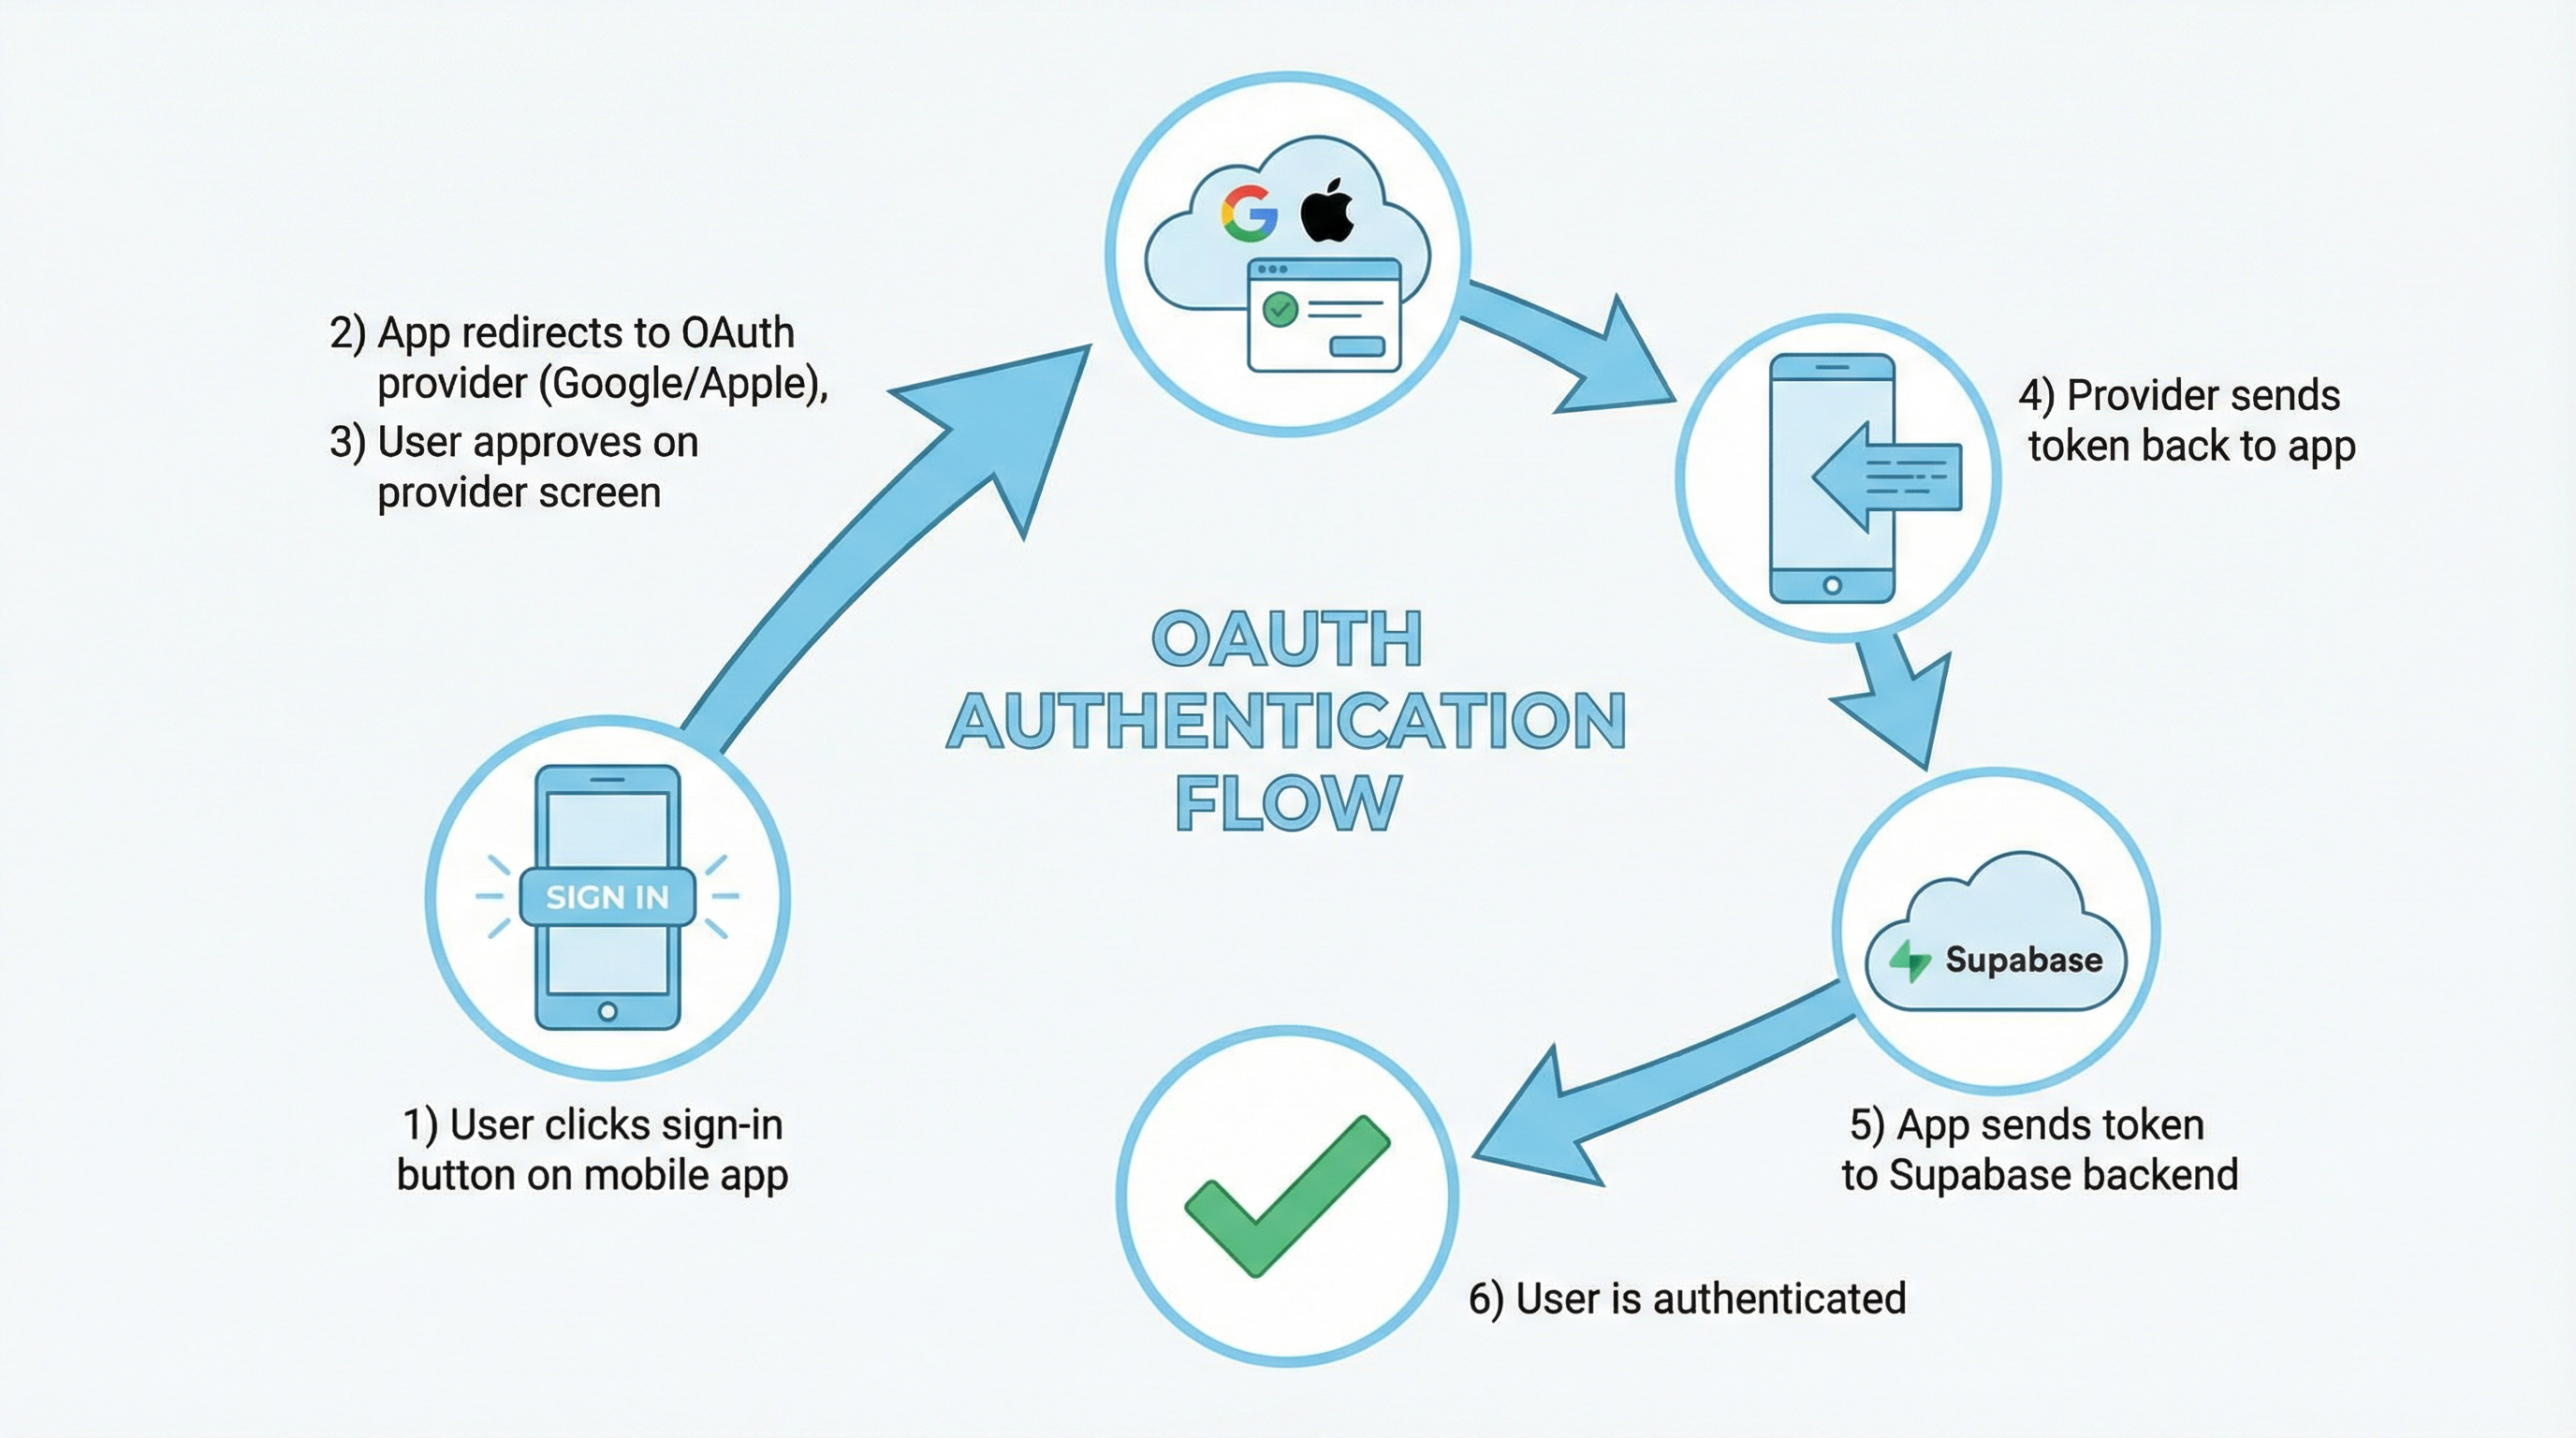
For the actual sign-in logic, you'll use the library to get an idToken, then pass that to Supabase's signInWithIdToken. I'm not going to dump my whole auth provider code here, but that's the gist of it.
That's It
Honestly, once I understood which credentials go where, it wasn't too bad. The documentation is scattered across Supabase docs, Google's console help pages, and the react-native-google-signin repo, so hopefully having it all in one place here helps.
If you get stuck, feel free to reach out. I probably made the same mistake at some point.